


Price:
(as of – Details)

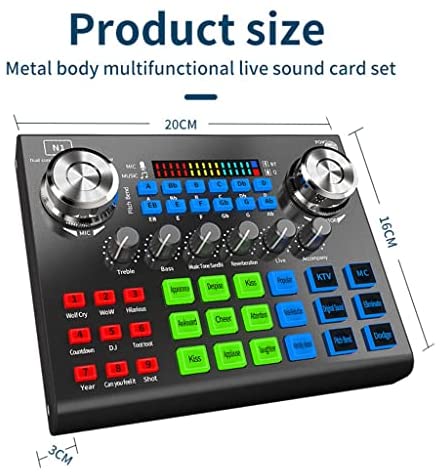
Features:
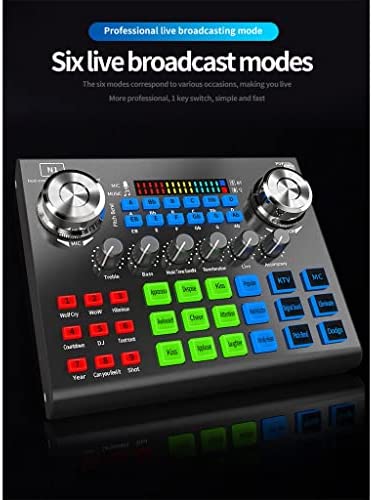
Microphone volume adjustment and reverberation adjustment.
High and low midrange accompaniment monitoring digital adjustment.
One-key mute 12 electro-acoustic modes and 6 accent modes (male and female doll elderly).
12 kinds of on-site special effects are free to switch (laughter, applause, gunshots, opening ceremony, please pay attention to the ceremony, cheers, kisses, praise, and despise crows).
You can use two mobile phones at the same time with large audio equipment. Musical instruments, guitars, keyboards and other accompaniment.
Notice:
1. Due to manual measurement, please allow 2-3% error. Before you bid, make sure you don’t mind.
2. The color may vary from different monitors, please refer to the actual product.
Please allow 1-3mm measuring deviation due to manual measurement.
High and low midrange accompaniment monitoring digital adjustment.
One-key mute 12 electro-acoustic modes and 6 accent modes (male and female doll elderly).
12 kinds of on-site special effects are free to switch (laughter, applause, gunshots, opening ceremony, please pay attention to the ceremony, cheers, kisses, praise, and despise crows).
You can use two mobile phones at the same time with large audio equipment. Musical instruments, guitars, keyboards and other accompaniment.
(as of – Details)